
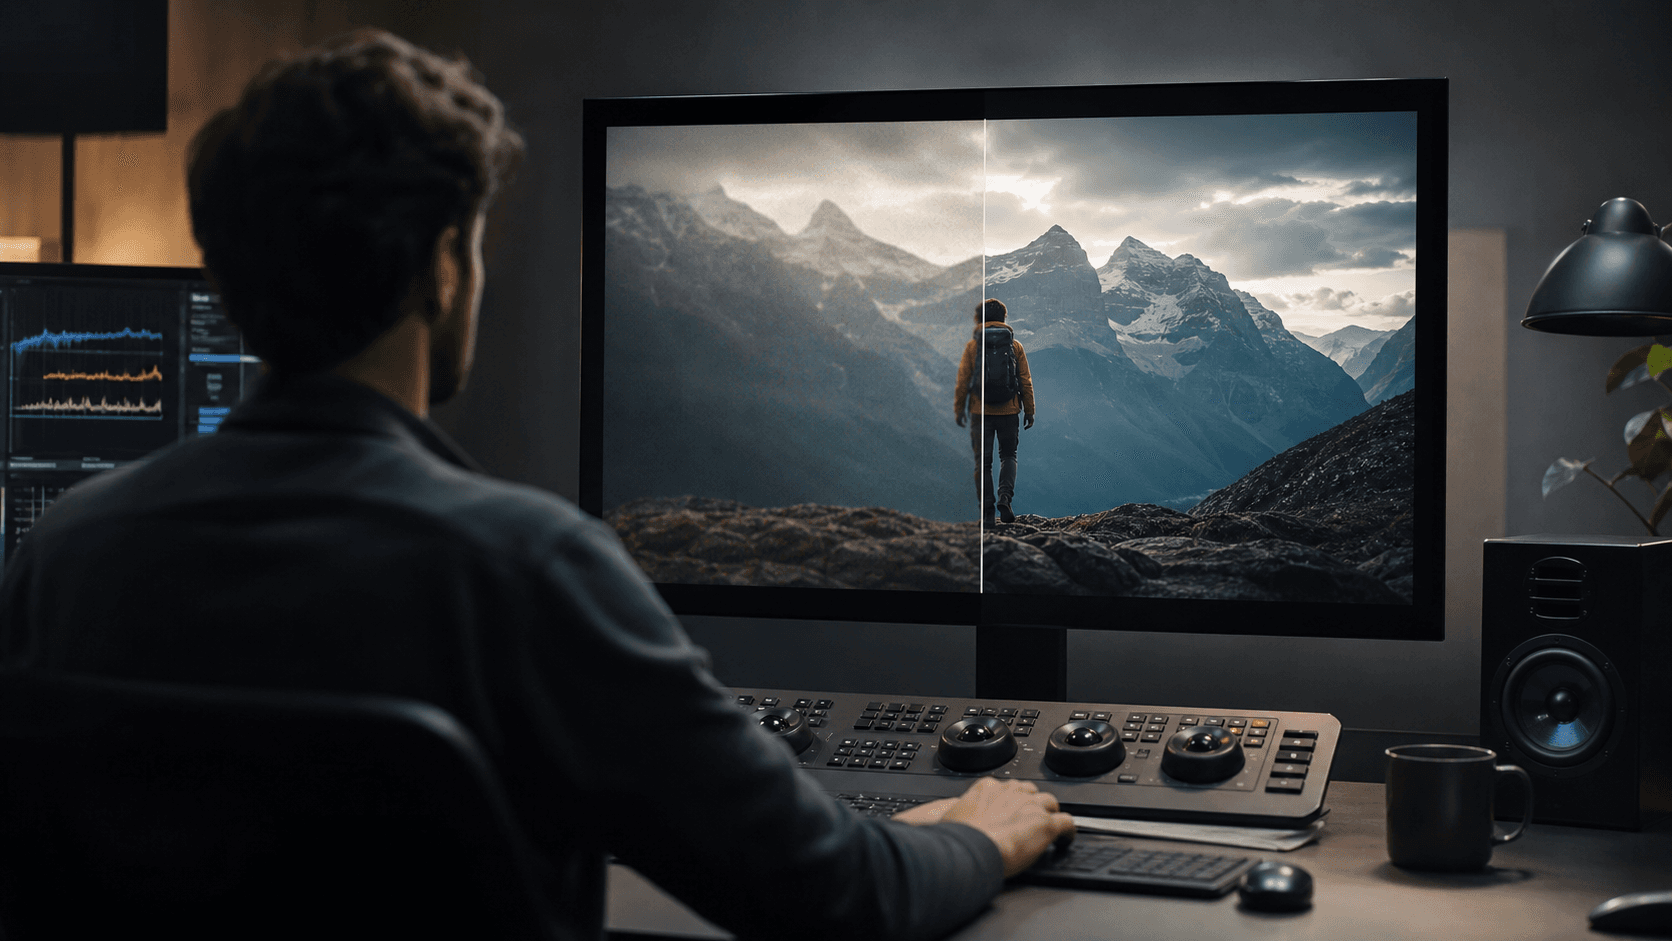
How to Enhance Video Resolution With AI Without Installing Desktop Software
Enhance video resolution with AI in your browser. Compare 1×, 2×, and 4× upscaling, avoid common mistakes, and review video quality correctly.
A soft video does not always need to be reshot. If the source still has usable faces, edges, and motion, an AI video enhancer can reduce compression noise, clean up detail, and enlarge the frame for a sharper export. The important part is choosing the right level of enhancement. More pixels do not automatically mean a better picture.
For a browser-based workflow, Seedance's current Video Upscale tool is the most direct option. It uses Topaz video enhancement and offers three choices: 1× Enhance, 2×, and 4×. You upload a clip, choose how aggressively it should be processed, and download the finished video when the job is complete. There is no desktop application to install and no timeline to learn.
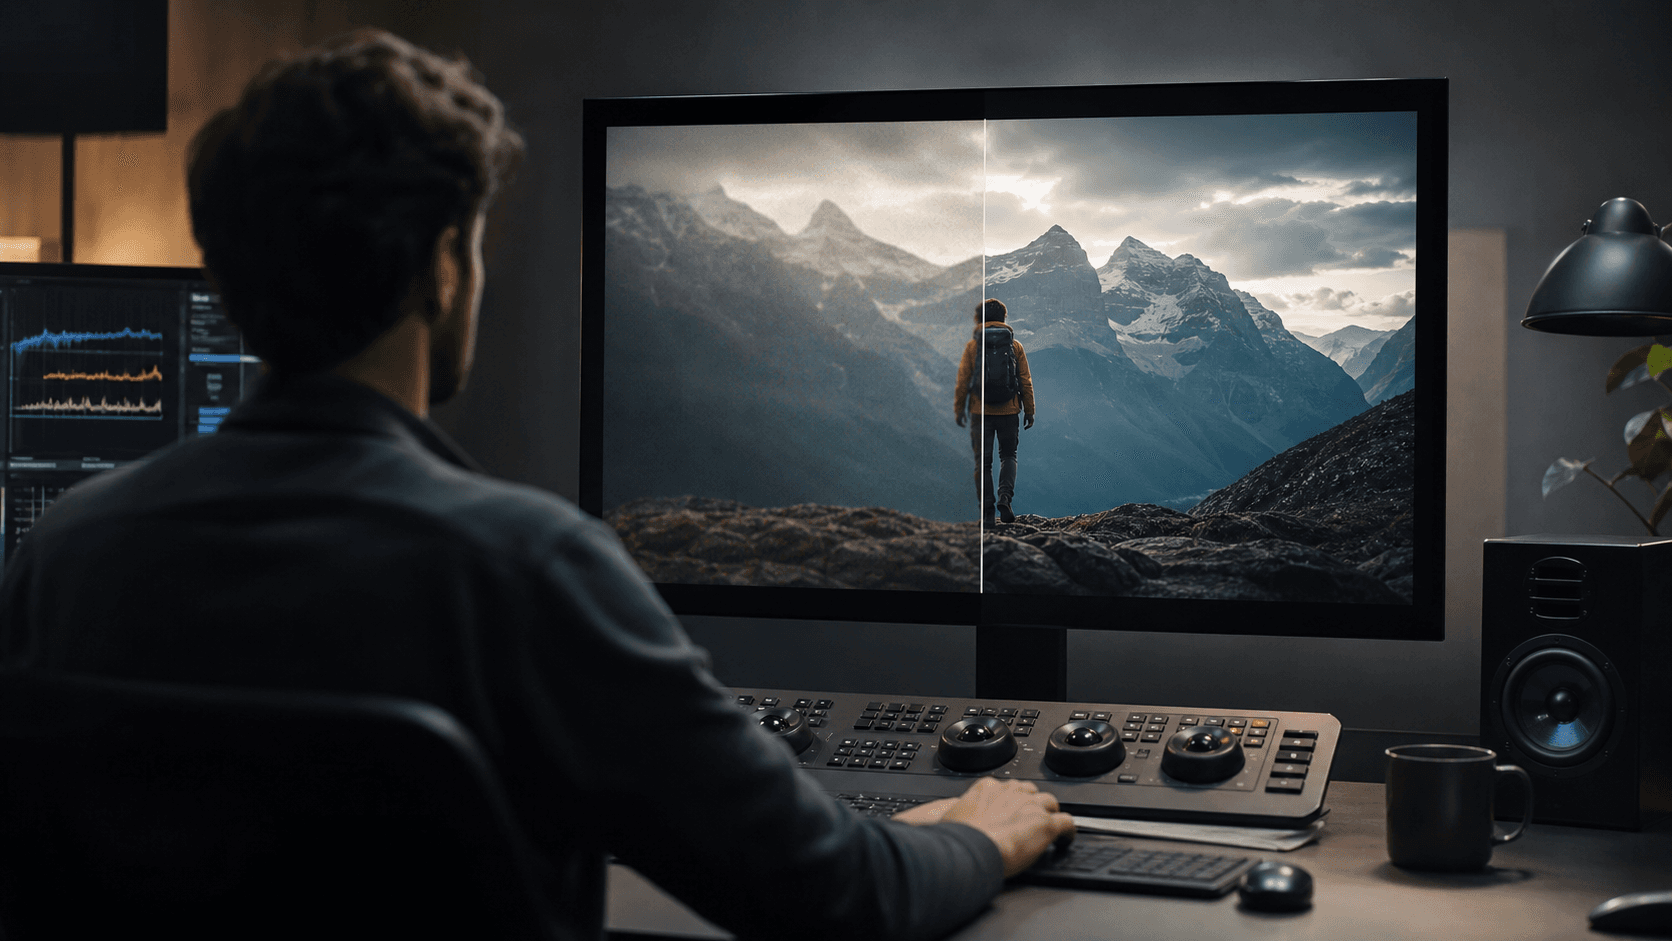
This guide explains when AI enhancement works, which setting to choose, and how to judge the result without being fooled by a larger file or a sharper preview window.
What AI Video Enhancement Actually Does
Conventional resizing makes a frame larger by creating new pixels from the pixels already there. It can smooth jagged edges, but it cannot meaningfully reconstruct texture or remove the damage left by heavy compression.
AI enhancement takes a different approach. A trained model examines patterns across the frame and across neighboring frames, then estimates how cleaner edges, surfaces, and fine details should look. That can improve apparent sharpness, reduce blockiness, and make low-resolution footage easier to use on a modern display.
The word estimate matters. An enhancer is not recovering a hidden original file. It is producing a plausible, cleaner interpretation of the source. A blurred license plate will not suddenly reveal reliable characters, and an indistinct face should not be treated as newly discovered evidence. Enhancement is best understood as restoration for viewing, editing, or presentation—not forensic recovery.
The Best Tools Depend on the Job
There is no single best AI video enhancement tool for every situation. The practical choice comes down to where you want to work and how much control you need.
Seedance Video Upscale is a strong fit when you want a fast, browser-based process. It is useful for improving an AI-generated clip, preparing old web footage for a new edit, or enlarging a social video without setting up specialist software. Its Topaz-powered options cover light restoration, everyday upscaling, and more aggressive enlargement.
Topaz Video on desktop makes more sense when enhancement is a regular part of a professional post-production pipeline. A desktop application gives an experienced editor more room to test models, tune settings, inspect frames, and process local media without first uploading it. That control also brings more setup, rendering demands, and decision-making.
A traditional video editor may be enough when the resolution is already suitable and the clip only needs restrained sharpening, noise reduction, color work, or a cleaner export. Upscaling should solve a real delivery problem, not become a default effect applied to every file.
For most people asking, “What are the steps to enhance video resolution with AI?”, the browser workflow is the simplest place to begin.
Start With the Best Source You Can Find
Before enhancing anything, look for a better copy. A camera original will usually beat a video downloaded from a social network. An original AI generation will hold up better than a version that has been uploaded, compressed, downloaded, and sent through a messaging app.
Repeated compression removes texture and creates ringing around edges. An enhancer may reduce those artifacts, but it also has to interpret them. Starting with a cleaner source gives the model less damage to untangle.
Check four things before uploading:
- Resolution: Is the clip genuinely low resolution, or does it only look soft because it is being viewed at an enlarged size?
- Compression: Look for blocks in shadows, mosquito noise around text, and smeared texture during motion.
- Motion: Fast pans, water, smoke, hair, and crowds are harder to reconstruct consistently than a slow product shot.
- Important details: Note faces, hands, product labels, subtitles, and fine patterns that must remain stable.
If possible, trim a representative five- to ten-second section first. Include the hardest moment rather than the cleanest one. A successful test on a difficult face turn or fast camera movement tells you more than a static opening frame.
Choose 1×, 2×, or 4× for the Right Reason
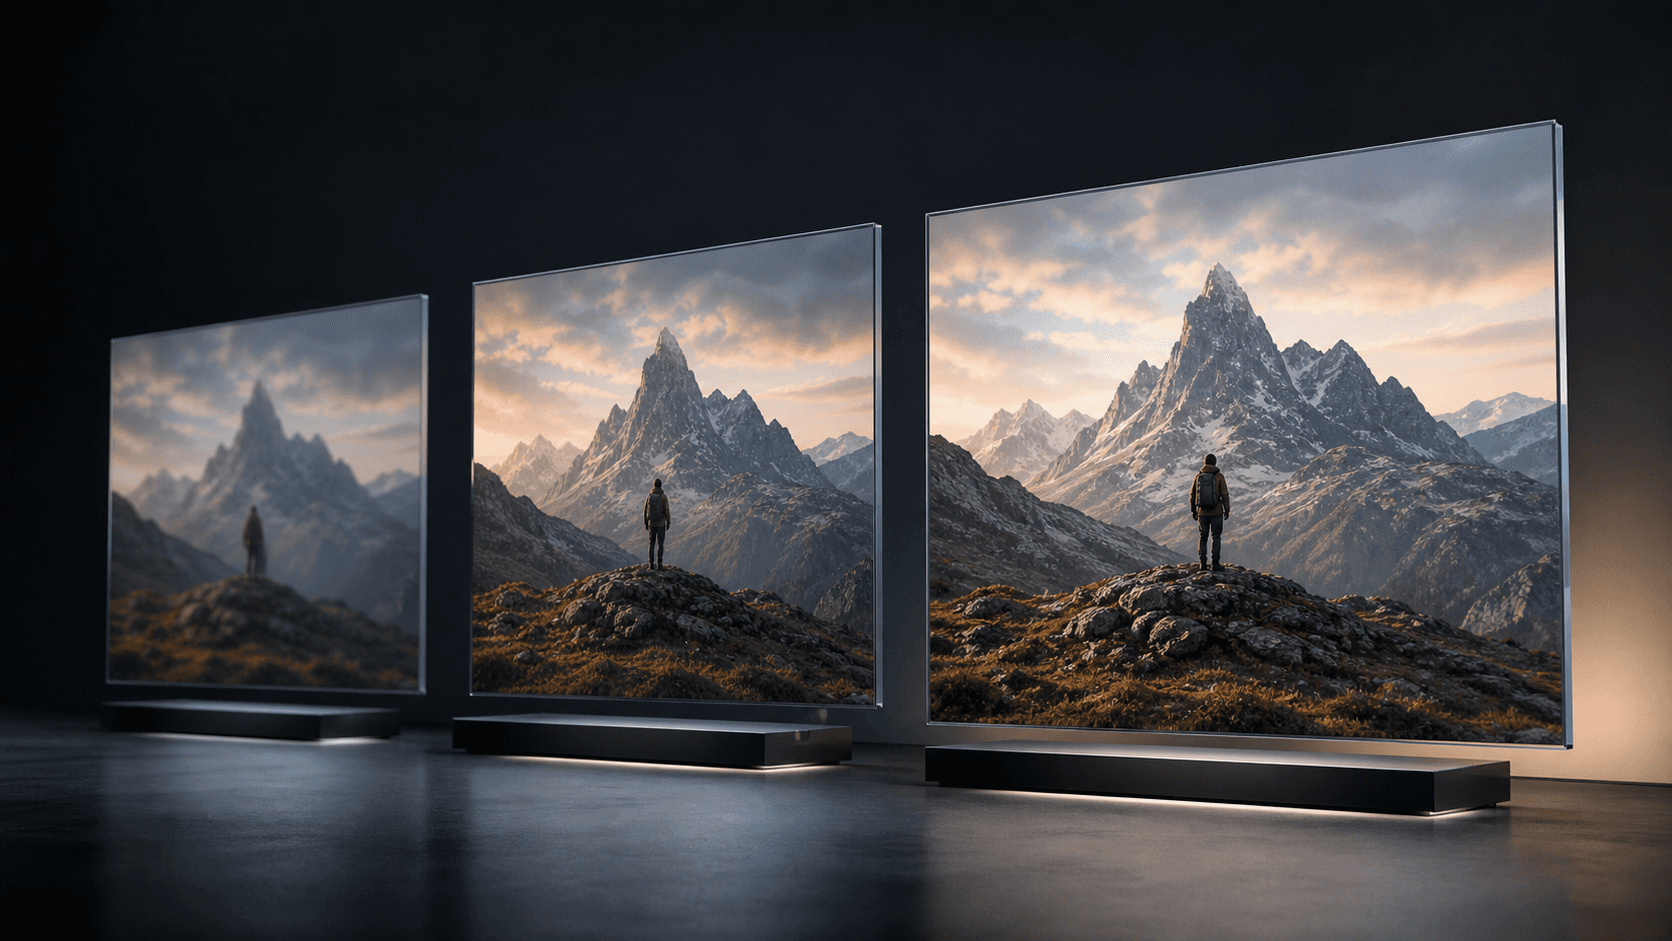
The scale factor controls how much enlargement you request, but each option has a different purpose.
1× Enhance: Keep the Size, Improve the Picture
Choose 1× when the frame dimensions are already suitable but the picture needs cleaning. This is often the best setting for an AI-generated 720p clip that will remain in a 720p project, a noisy export that looks rough on a phone, or footage that has minor compression damage.
2×: The Sensible Default for Most Upscaling
Choose 2× when the source is clearly smaller than the required delivery frame. It is a practical starting point for older 480p or 720p material, cropped footage, and AI clips that need to sit beside higher-resolution media.
Two-times enlargement gives the model enough room to improve edge definition without demanding the most aggressive reconstruction. It is usually the first test worth running when you are unsure which option to choose.
Remember that 2× refers to width and height, not merely twice as many total pixels. The resulting frame contains roughly four times as many pixels. That is why the output takes longer to process and why weak source details become more noticeable during review.
4×: Use It for Small Sources, Crops, or Specific Deliverables
Choose 4× only when there is a clear need for substantial enlargement. A small archival clip, a tightly cropped section, or an asset intended for a much larger canvas may justify it.
Four-times enlargement asks the model to invent far more visual information. It can produce an impressive result from the right source, but it can also overdefine skin, make lettering look artificial, or turn compression artifacts into convincing-looking texture. Run a short test before committing a long video.
The highest setting is not the “best quality” button. It is the largest intervention.
How to Upscale a Video in Seedance
The complete workflow is short:
- Open Seedance and select Tools.
- Choose Video Upscale.
- Upload the cleanest version of your clip.
- Select 1× Enhance, 2×, or 4× based on the intended output.
- Start the job and wait for processing to finish.
- Download the result and compare it with the original at the same viewing size.
Do not judge the enhanced clip only from a small preview. Save both files and place them side by side in the same player or editor. Pause on identical frames, then watch the difficult motion at normal speed.
A Five-Point Quality Check
An enlarged video can look sharper at first glance while introducing problems that become obvious during playback. Review the result in this order.
1. Faces and Skin
Look for waxy texture, changing eyelashes, teeth that shimmer, or facial details that appear and disappear between frames. A still frame can look excellent while the moving face feels unstable.
2. Text and Logos
Small lettering is a stress test. Check whether letters retain their shape and spacing. If the source text is unreadable, treat any newly “readable” text with caution; it may be an invented approximation.
3. Fine Repeating Patterns
Brick, fabric, fences, hair, grass, and window grids can flicker after aggressive enhancement. Watch these areas at full speed and again frame by frame.
4. Moving Edges
Inspect hands, wheels, product outlines, and high-contrast edges during motion. Halos or crawling outlines usually mean the processing is too aggressive for the source.
5. Timing and Sound
Play the complete export. Confirm that its duration matches the original and that audio stays in sync from beginning to end. Visual improvement is not useful if the delivered file breaks the edit.
Common Upscaling Mistakes
The first mistake is downloading a poor social-media copy when the original exists elsewhere. The second is choosing 4× because it sounds more premium. The third is adding sharpening again in an editor before checking what the enhancer already did.
Another common error is using upscaling to solve the wrong problem. AI enhancement will not fix bad lighting, clipped highlights, an out-of-focus subject, motion blur chosen by the camera, or inconsistent anatomy in a generated video. Some faults need color correction, editing, regeneration, or a reshoot.
Upscale late in the process, after the creative cut is approved but before the final delivery encode. There is little value in spending time and credits on frames that will later be removed. Keep the original file untouched, and give the enhanced export a clear filename that includes the scale factor.
When AI Enhancement Is Worth It
The strongest use cases are ordinary ones: bringing an older interview into a new documentary, making an AI-generated clip sit more comfortably in a 1080p edit, improving a product demo captured on an older phone, or preparing a small library asset for a larger screen.
It is also useful after image-to-video generation. A creator can concentrate on motion, composition, and continuity during generation, approve the best take, and enhance only that selected clip. This avoids spending resources on failed drafts and preserves a cleaner production sequence.
For highly sensitive material—medical imagery, legal evidence, surveillance, scientific measurement, or anything where reconstructed detail could change the interpretation—retain the original and clearly distinguish an enhanced viewing copy from source evidence.
Frequently Asked Questions
Can AI really increase video resolution?
Yes. It can enlarge frame dimensions and improve perceived detail, edge definition, and cleanliness. It cannot recover every detail that was absent from the source, so results depend heavily on source quality.
Should I enhance a video before or after editing?
Usually after the cut is approved and before final export. Enhance earlier only when the low-resolution source makes accurate editing, tracking, or compositing difficult.
Is 4× better than 2×?
Not automatically. A 4× job creates a much larger frame and requires more reconstruction. Use 2× as the everyday starting point; reserve 4× for genuinely small sources or larger delivery needs.
What does 1× Enhance do?
It keeps the same scale while improving the image. It is useful when you want cleaner detail and fewer visible artifacts without increasing the output dimensions.
Can I upscale AI-generated video?
Yes, and it is often a good final step. Check faces, hands, lettering, and fine textures carefully, because enhancement can make generation artifacts more visible as well as making good details sharper.
A Better Result Starts With a Smaller Decision
AI video enhancement works best when you know what the finished file needs to do. If the current dimensions are already enough, use 1×. If the clip needs a practical resolution lift, test 2×. If the source is genuinely small and the destination demands it, try 4× on a short sample first.
The goal is not to create the largest file. It is to make the video cleaner, more usable, and more consistent with the rest of the project. Open Seedance, choose Tools → Video Upscale, and let the intended delivery—not the biggest number—choose the setting.
Author

Categories
More Posts

Seedance 2.0 Mini vs Fast vs Standard: Which to Pick
Seedance 2.0 Mini, Fast, and Standard compared: what each tier is for, where resolutions differ, and a decision rule that stops you overpaying per clip.

Couple Photo to Video AI: Two Methods Compared
Couple photo to video AI two ways: animate one combined photo with image-to-video, or bridge two photos as first and last frames for a moving portrait.
How to Convert a Photo to Video with AI (Free, No Sign-Up Tricks)
Step-by-step guide to turning any photo into a video using AI. Covers image-to-video basics, prompting tips, real use cases, and free tools that actually work in 2026.